Discovering the Art of Cyanotype Portraits
The world of Cyanotype Portraits Guide merges historical photographic techniques with the captivating essence of portrait imagery. This article is a treasure trove of insights, providing step-by-step guidance, valuable advice, and artistic strategies for those eager to explore this distinctive form of expression.
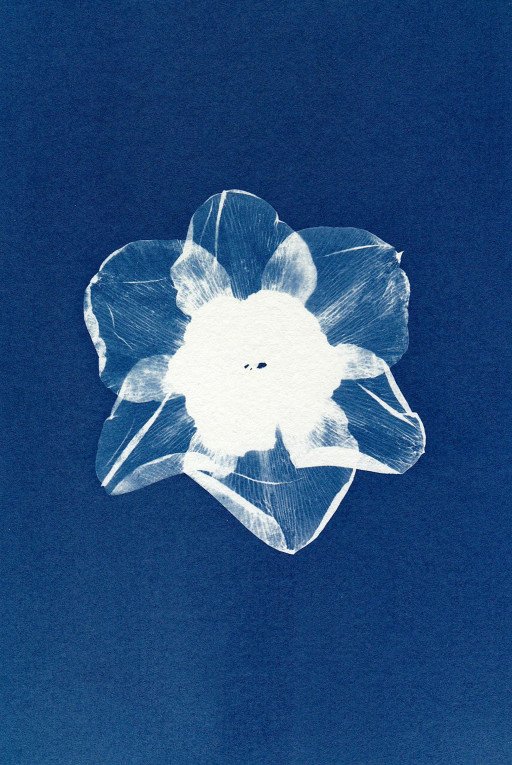
The Legacy and Charm of Cyanotype
Unveiled in 1842 by Sir John Herschel, the cyanotype process, characterized by its signature blue hue, transitioned from a method for blueprint reproduction to a medium embraced by artists for its dreamlike and nostalgic qualities, especially in portrait art.
Gathering the Essentials for Your Masterpiece
Embarking on your cyanotype journey necessitates a set of specialized materials:
- Select watercolor paper of superior quality
- A duo of cyanotype chemicals: Ferric ammonium citrate and Potassium ferricyanide
- Tools such as brushes or a coating rod for application
- A transparent digital negative or an original large-format negative
- A source of UV light, be it natural sunlight or a UV lamp
- A wash station equipped with flowing water
- Safety gear including gloves and glasses
Preparation of the Negative
To ensure your portrait exudes depth and contrast, meticulous preparation of the negative is paramount. Convert your image to a negative with photo-editing software and print onto transparency designed for this very purpose.
Crafting the Cyanotype Chemical Mixture
In subdued lighting, mix the cyanotype chemicals with water to prepare your photosensitive solution, taking care to prevent any premature exposure.
Coating the Paper with Precision
With the solution prepared, apply it to your chosen paper in uniform strokes and let it dry in darkness before moving forward to the exposure step.
Explore the cyanotype process more deeply here.
Exposure to Light: The Pivotal Moment
Position the negative onto the paper, then expose to UV light; timing varies based on the source’s potency, from minutes to hours.
The Development Stage
Finish the exposure and immerse the print in running water to stop the chemical process, unveiling the iconic cyan-blue shades while lighter areas emerge on the image.
The Final Artistic Strokes
Post-wash, you have the option to tone or bleach your print, adjusting the color with substances like tea or coffee to achieve your desired effect.
Ensuring Your Portrait’s Endurance
Proper framing and protection from sunlight are essential for preserving the vitality of your cyanotype portrait.
Conclusion: A Journey Through Time With Cyanotypes
The art of cyanotype in portraiture invites contemporary artists to connect with the origins of visual storytelling. Equipped with the knowledge and creativity covered in this guide, you can produce timeless portraits that resonate across generations.
Frequently Asked Questions About Cyanotype Portraiture
- Which type of paper best captures the essence of a cyanotype print?
- The steps to transform a standard image into a cyanotype-ready negative?
- Are there alternative bases to paper for crafting a cyanotype?
Further exploration into the art of cyanotypes.
Crucial insights Greta Thunberg environmental activism can also be embraced through cyanotype portraits, creating compelling visual dialogues on critical issues.
Related Posts
- 10 Key Steps to Professional Headshot Mastery: Your Comprehensive Guide
- 7 Crucial Insights into Greta Thunberg’s Environmental Activism
- 5 Essential Elements in Jordan Peterson Portrait Mastery
- 5 Tips for Mastering Bird Portrait Photography
- 10 Tips for Stunning Easter Portrait Photography: Capture Timeless Spring Memories